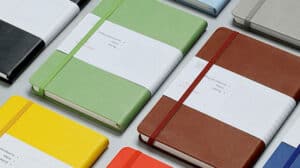
Suppose you want to create a notebook, journal, or planner, a personalized one that you can give away as gifts to friends and family. Or, if you run a club or you have your own business, you can also create journals and notebooks for your customers and participants to buy.
However, suppose you feel you lack creativity or don’t know which tool to use. In that case, this tutorial will teach you how to design notebook pages easily.
Use design tools
When it comes to design, there’s no shortage of options. Adobe InDesign and Canva are both excellent for graphic designers who want their work featured on beautiful projects with modern appeal, yet they differ in many ways that will affect your final product – namely, what type or style of notebook, journal, or planner you can produce.
Canva
Canva is an online platform that allows users to create professional designs for free. And Canva is the most straightforward graphic design tool you will ever use; you only need to choose one of the many templates and custom colors. People with no design experience also can learn it in a short time. Everything in Canva can be dragged and dropped, and the text can be edited just like the boxes in all other graphic tools.
Canva and Amazon KDP templates can be combined to make your custom notebook easy and fast. You can also upload your artwork to the Amazon KDP shop for sale after finished. Note that you must leave a 3mm bleed around the cover and paper; these areas will be trimmed.
You can watch the below video to see how you can custom notebook pages on canvas and upload them to Amazon KDP:
The advantages of using uploads to Amazon KDP to sell are you don’t have to pay any costs upfront or carry any inventory. KDP is print-on-demand, meaning Amazon will print and post; you only need to create and publish your personalized notebook, journal, planner pages, and cover design. There are no steps missing for us to do.
But binding way only standard paperback and hardcover. Also cannot add a bookmark ribbon/tassel or a lock. If you want to print on demand for spiral binding, you can publish your work on Redbubble. And The cover material, such as leather, is not fully customizable through Canva and KDP templates.
And Canva is not flexible enough to edit graphics at a deeper level like Adobe InDesign and Adobe Illustrator. So tens of thousands of people probably use the same graphic templates as you.
In addition to using the elements that come with Canva, you can also go to sites like Creative Fabrica or Vecteezy to get inspiration, the two places I commonly use. Maybe you’ve got many different sites like Envato elements and DesignCuts. You can use ideas and graphics from those sites, drag them across to the upload box on Canva and use them on the front cover of your notebook.
Adobe InDesign
InDesign is a desktop publishing software application used by graphic designers to create layouts for magazines, newspapers, brochures, and other types of publications. It offers many tools for adding text, images, and other elements to a design, as well as options for customizing the appearance of those elements.
InDesign, though often complex, is an incredibly powerful tool that can help you create unique works of art from a blank canvas. With InDesign, you have the ability to control every aspect of your design. This level of control can allow you to create designs that are truly unique and stand out from the competition.
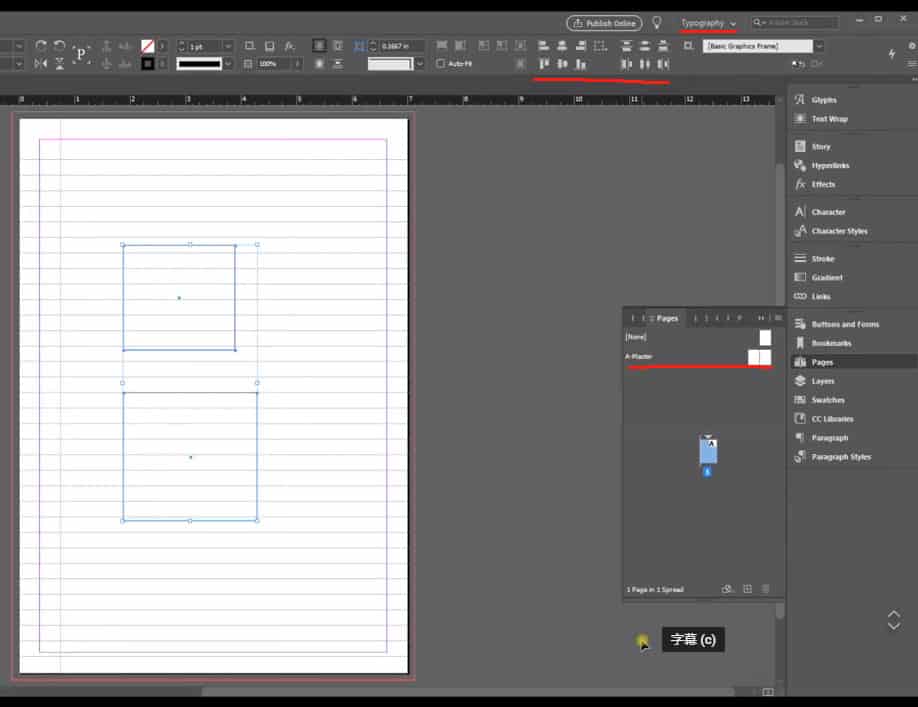
You can learn the basics of creating notebook pages from the following video.
There are different InDesign layouts, which are up in the upper right corner. You can choose the one you prefer. Some of the reasons that I like InDesign for notebooks are, first of all, if you want to do something that looks professional, this is the software you have to learn or something similar like affinity publisher. But I feel like if you’re going to make this a business, you need to use the proper tools for the job you want.
Another reason I like it is it has a feature called master, and what master will do will allow you to create almost your little template for the notebook. So, for example, if I had created a notebook paper in a master, I could add a whole bunch of pages with that master applied. Every single page would look like this, allowing you to create a design once and add as many pages as you want.
The other thing I like about InDesign is that it’s just got a lot of very versatile things. The step-and-repeat that’s perfect for journals and planners where you’re creating stuff that you want to space evenly it also has some really nice alignment tools that if you had more boxes, you could distribute them evenly either in the vertical direction or the horizontal direction.
Designing through some branded websites
The notebook industry is competitive, and many brands have been trying to outdo each other with their innovative features. So to satisfy consumers better, many brand websites have created an online page for custom notebooks. I’ve tried several of these sites with good features and ideas. Here are my top picks.
Lulu
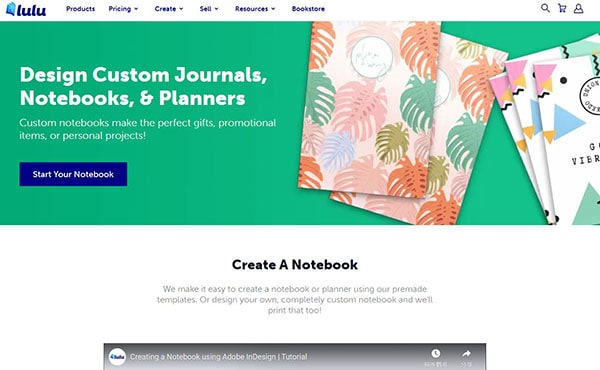
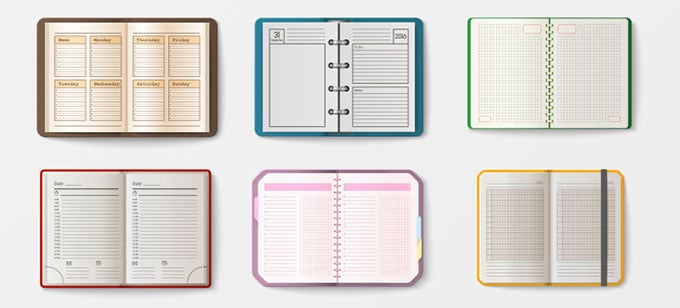
Lulu has designed many templates and has a special InDesign combined with their template tutorial video, all are free. Their templates include blank, lined, graph paper, and dotted grid that is commonly used in bullet journal pages. They also have cover designs for you to choose from for different binding methods. So you can import lulu’s templates to create your notebook style more easily.
If you study lulu’s blog carefully, you will find that lulu is teaching you the details of how to customize a notebook, journal, and planner, such as PDF creation settings.
And you can also sell your notebook on Lulu’s website shop; print-on-demand is also possible.
Personal planner
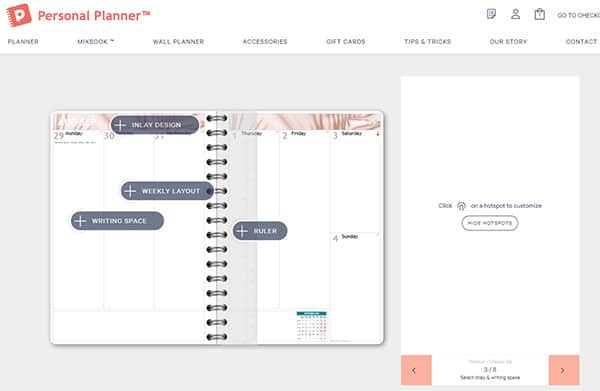
Personal planner will walk you through the design step by step, from customized covers to inner pages, and provide various images of their designs. In the meantime, you can upload your pictures as well. Their inner pages are fully customizable, with an array of options that you won’t believe. You can also change the language on these inner pages to suit your needs perfectly.
There are also various stationery accessories available for purchase on its website, such as rulers, pens, stickers, etc. However, a planner designed by Personal Planner can only be bound in a spiral.
BookBlock
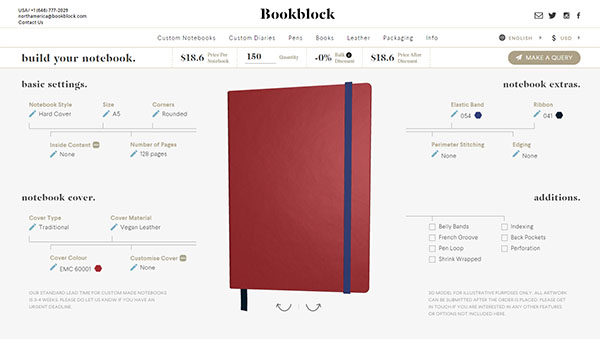
This company offers many custom options to personalize your notebooks, journals, and planners. You can choose from different cover styles, materials, paper weight, and colors, or get creative with interior printing, which you may select from with 3D viewing capabilities online. They can also provide pen loops and packaging extra service.
But the downside is that you can only buy through them and can’t download the artwork.
Conclusion
Generally speaking, if you create your notebook, journals, or planners through a branded company’s online site, most can only be purchased through their site, and you cannot download your artwork. But if you only need a few custom notebooks, journals, or planners and not a bulk order, this is a much better way to go.
For those of you who are looking for a custom notebook with more character and to save more money on printing, it is recommended that you work through InDesign or Canva. Then you can search and give the artwork to a printing factory like us. You can also visit our customization page to learn more about the custom notebook we can make for you.